Introduction:
I was using Cygwin/X for a while and to be honest I was quiet satisfied with its capability and performance.I was able to use PERL,lots of Unix commands,schedule cronjobs and almost everything that can be done in a UNIX box.
However, when I tried to install MYSQL in Cygwin and access it from PERL script using DBD::DBI, I just wasn't able to connect to the database. So after lots of Google search I finally found out that the MYSQL windows/Linux Binaries will not work with Cygwin and the MYSQL package should be compiled from the source package. I spent some time exploring this option but with no gains (If you want to get documentation on building MYSQL in Cygwin and accessing it with PERL click this LINK).
Finally, with more Google search I landed in "andLinux" home page (LINK). Because it suites my needs I decided to give it a try. It worked like a charm from the start and I love every minute I spend on it.
Since there is not much of documentation installation and adding additional drives using COFS I am publishing this blog to serve as a Step by Step andLinux Installation guide and a guide to add additional windows drive in addLinux using COFS.
andLinux Installation:
- Download andLinux Beta 2 (final) from their download page or from this LINK
- Run the andlinux-beta2-kde.exe
- Click Run in the below screen

- Click next in the below screen

- Accept the license and proceed

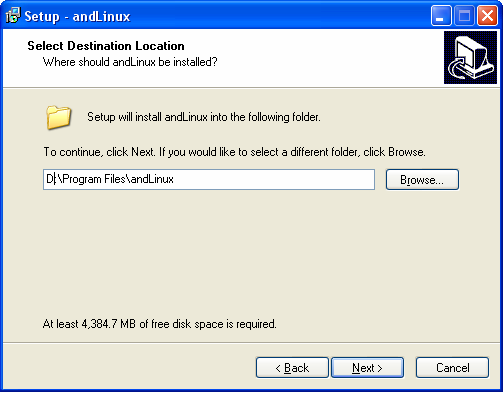
- Select the appropriate installation directory and proceed.
- I selected the stable version because I any issue with the MYSQL installation.

- 256 MB is the minimum required however I selected 386MB in the below screen to suit my needs.

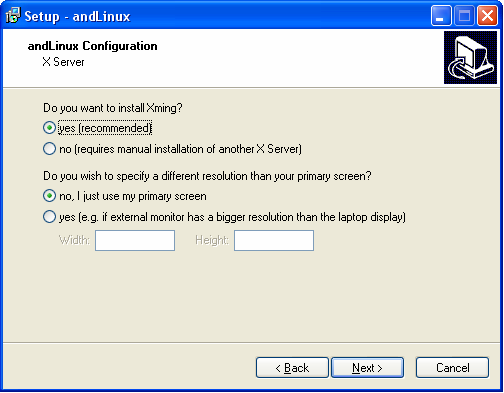
- If you are transitioning from windows to Linux based system, then I recommend choosing the option to install Xming in the below screen shot because it comes with lot of nice GUI's like File manager,editor a friendly terminal like putty called Konsole.
- I selected sound in the below screen just to try it out.

- You can select any of the options in the below screen. I selected the third option because I will be automating lot of windows activities with crontab in Linux. So it is easier if the Linux starts as a service during Windows start-up.

- Print user-name and passwords in the below screen.

- Select COFS if you have multiple drives to be accessed in windows. Note that you will be able to select only one drive during this installation. The other drives need to be added manually after installation. I will provide more information about this configuration changes in the later part of this blog.

- select the major drive that you will be using for now in the below screen. we can add more drives after this installation is complete.

- Select the the shortcut name in the below screen and click next.

- Choose the additional tasks as per requirement and click next

- Confirm the installation details in the below screen and click install. Grab a coffee since it will take 5 -10 mins to finish installation.

- While the installation is about to finish .If you get the following message select "Continue Anyway option" and the complete the installation.

- The system will prompt for restart of the system. Select restart now to complete installation. When you restart you will have a fully functional Linux operating System installed within windows.
- If you want to access more windows drives from the Linux then click this LINK.